Description
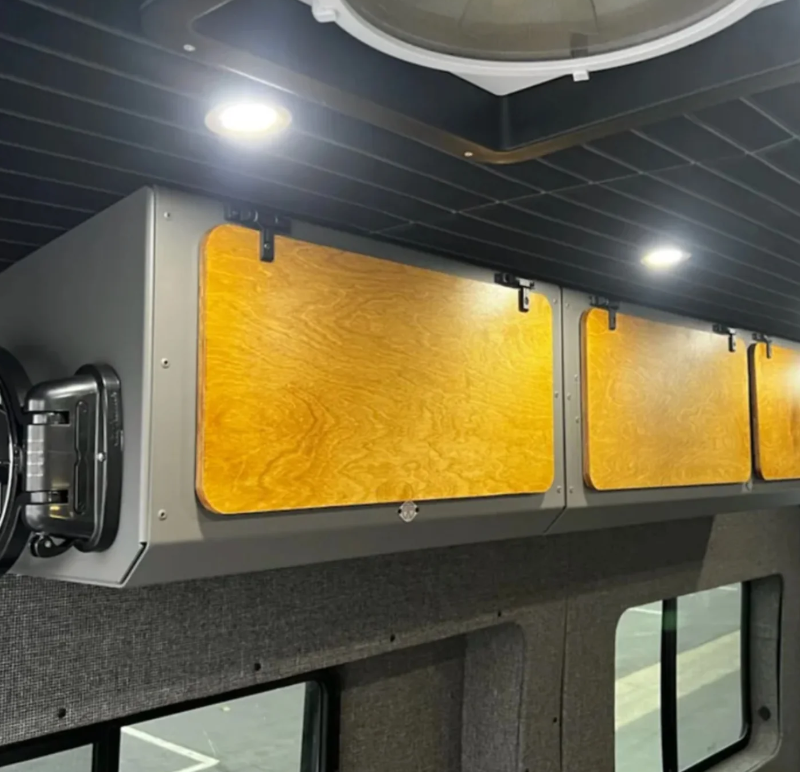
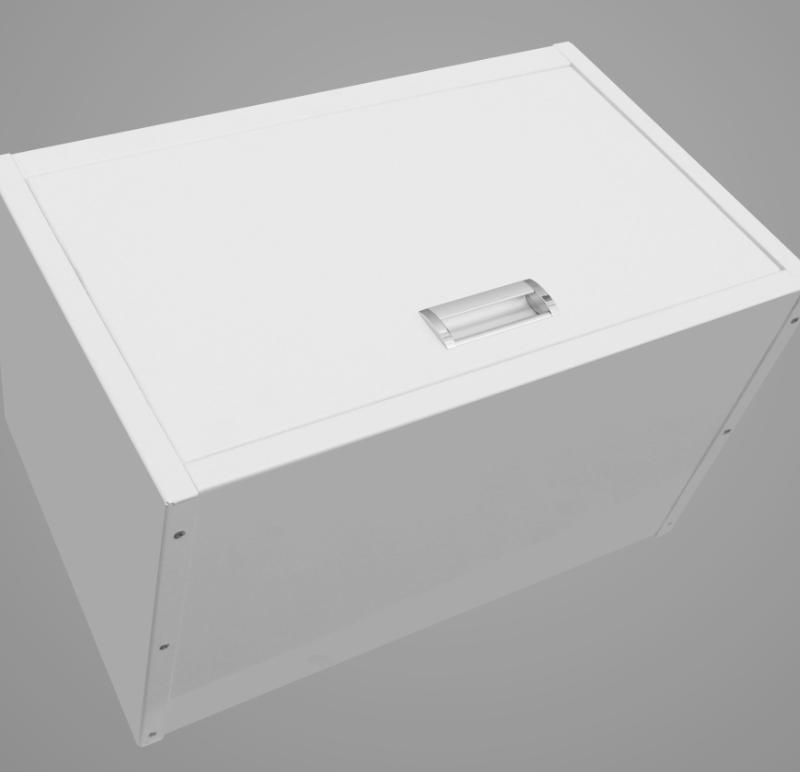
T1N 2002-2006 Sprinter Van Upper Cabinets are available in three sizes.
35-inch single door, 48-inch double door and a 56-inch double door.
Highlights:
• Ships flat
• Easy to assemble
• Pre-drilled hardware pilot holes
• Hidden wiring pass-through
• Strong mounting surface
• Contoured to van walls and roof
Product Ships within 3-5 business days
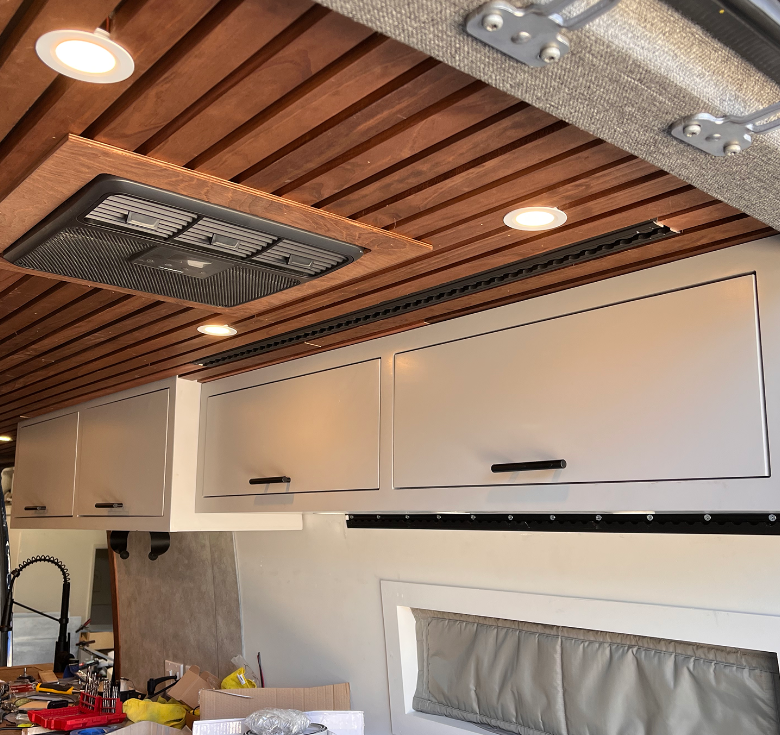
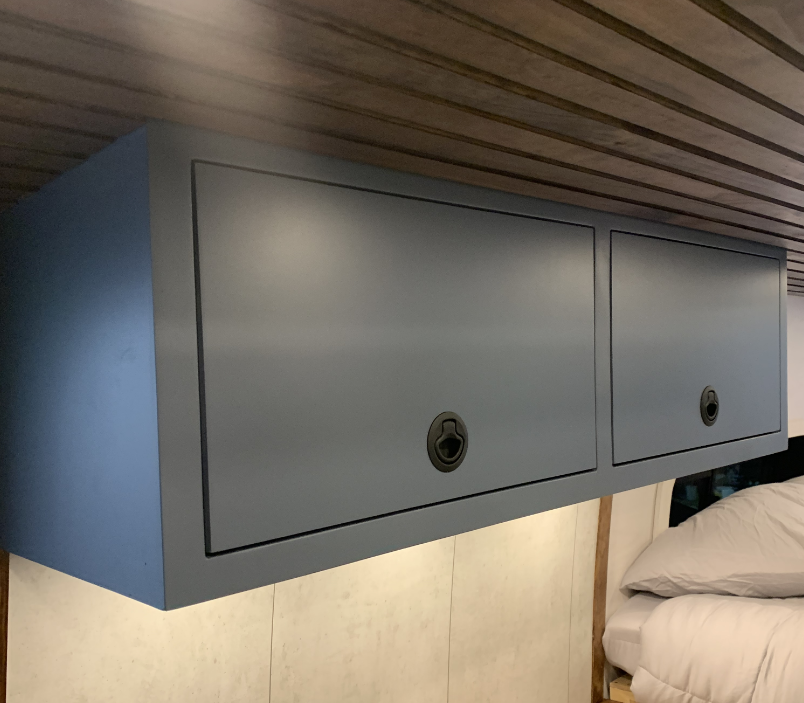
T1N 2002-2006 Sprinter Cabinets are designed for the DIY van builder by providing van cabinetry that is affordable, versatile, with professional quality. Any van DIYer can install our cabinets with great success. These cabinets will save you time and require far fewer tools than if you were to build cabinets from scratch. Using 3D models and computer-aided design we have matched the curvature of each van model interior. Designed to fit on either the passenger or driver side in any position from front to back in your van. Under the false bottom of our cabinet are electrical wiring paths to allow you to hide electrical wiring for lights, chargers, or switches. Pilot holes are pre-drilled for handles, lights, hinges, and struts. The included soft closed hinges in conjunction with the included struts make sure your door stays closed during travel. Made of the best Baltic Birch Plywood available, they are strong, durable, and have a real wood finish. They are ready for personal touches with your choice of stain or paint to match your van style.
• 13 Packed flat cabinet panels made of ½ inch and ¾ inch Baltic Birch Plywood
• 1 or 2 gas struts and mounting hardware, 1 per door
• 2 or 4 stainless steel soft close hinges and mounting hardware, 2 per door
T1N 2002-2006 Sprinter Cabinets Features:
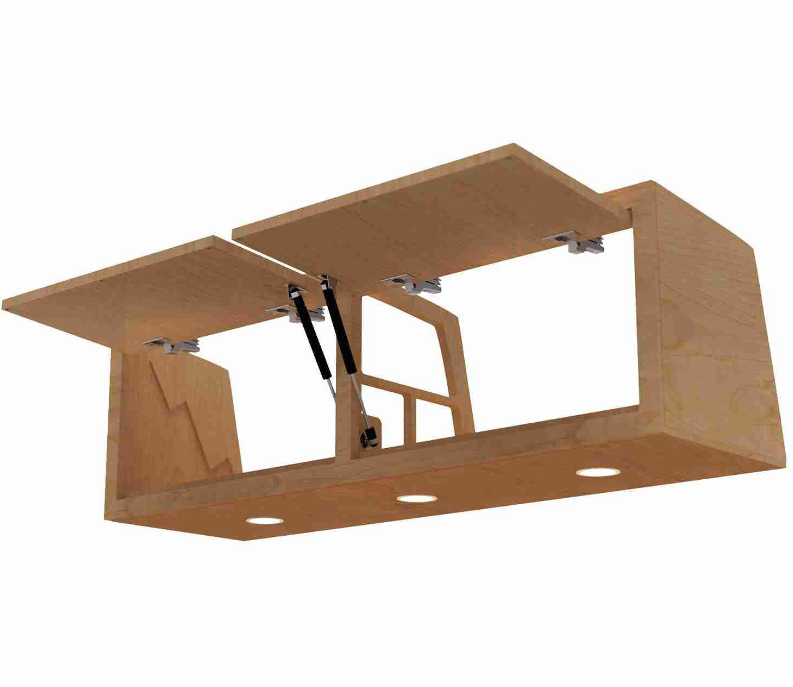
• 3D Modeled; CNC cut panels for excellent fitment into the T1N 2002-2006 Sprinter
• Hinge pockets are cut out and hardware pilot holes are pre-drilled
• Stainless Steel soft close hinges with hardware, two for each door allow for easy closing without slamming doors
• Gas support struts with hardware for pre-drilled mounting pilot holes
• One strut for each door to ensure it stays open and closed
• Pre-drilled pilot handle holes for standard-size single or dual-mounted handles
• Pre-drilled pilot holes for 2″ recessed puck lights
• Cabinet door(s) fit flush in the front face panel of the cabinet
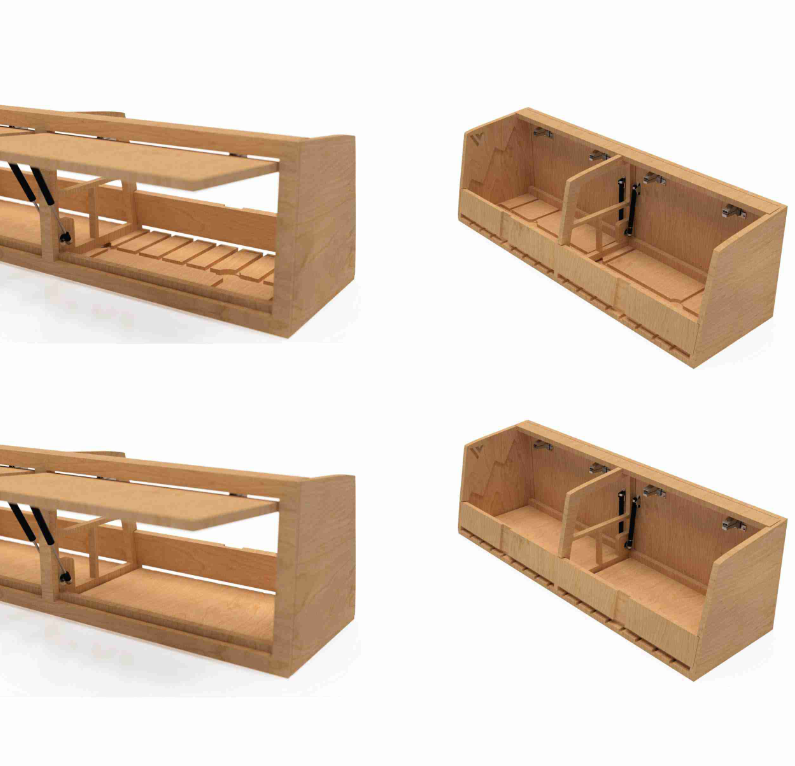
• Electrical wiring channels are cut into the subfloor allowing for wiring to pass through the cabinet
• A false bottom cabinet floor is included to hide all wiring for lights, switches, or chargers
• Three partially drilled holes in the subfloor allow for optional under cabinet puck lighting to easily be installed
• Mounting cross plates are located at the top front and bottom rear of the cabinet to allow for unlimited mounting options
• Wire relief in the rear mounting plate allows for wiring to be changed after the cabinet is installed
• Only basic tools are required for assembly and installation
T1N 2002-2006 Sprinter Cabinets Dimensions:
• Length: 35″ single door, 47.5″ double door, 56″ double door
Size:
• 10″x14″ : 10″ deep by 14.75″ tall (narrower cabinet)
• 12″x12″ : 11.5″ deep by 11.5″ tall
• 14″x14″ : 14.25″ deep by 14.75″ tall
• Weight: 35″ = 21.5 lbs, 47.5″ = 30 lbs, 56″ = 34 lbs
**Actual length of the 48″ cabinet is 47.5″
** Actual depth and height of the 12″ cabinet is 11.5″
Tools required for assembly:
• Wood glue
• Wood clamps and/or nail gun with finishing nails
• Mallet
• Power drill with Phillips head bit and drill bit for handle holes
• Phillips screwdriver
***If you have the factory headliner, please choose the ‘Factory Headliner’ option so that your cabinets have the right curve.
T1N 2002-2006 Sprinter Upper Cabinets Assembly:
Assembly is easier than IKEA Cabinets. Clear instructions are included to guide you through the assembly. Basic assembly instructions are to apply glue, tap panels together with a mallet and clamp them together until dry.
T1N 2002-2006 Sprinter Van Upper Cabinets Installation:
Each van build is unique, and how people choose to install our products will vary widely. For that reason, we do not supply any hardware for installation or offer mounting instructions. However, installing these van cabinets is easy. If you are using wall paneling, make sure to mark your van’s structural ribs or preinstalled mounting studs to ensure your cabinet hardware hits these structural elements. We suggest using jack nuts/rivet nuts and bolts or heavy-duty sheet metal screws to mount your cabinets. You should align your cabinets, mark where the structural elements of the van are, and pre-drill holes through the mounting plates for final installation.
Shipping:
The cabinet is flat-packed and shipped to you with all hardware included, excluding handles and mounting hardware.


